How to Configure Active Directory on Windows Server 2019
Overview
This guide assumes that:
- You own a domain.
- You have Windows Server 2019 installed to a server.
Windows Server 2019
Set Static IP
It is best practice to configure your server to a static IP address instead of using DHCP. To do so follow the steps below.
Open a Command Prompt and run:
1control.exe /name Microsoft.NetworkAndSharingCenter
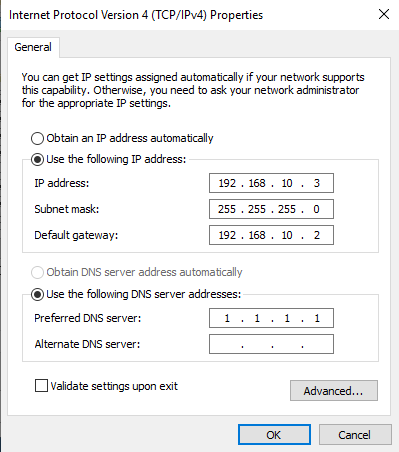
Network and Sharing Center should open. Now navigate to Change adapter settings, then right click on your network adapter and click Properties. Double click on "Internet Protocol Version 4 (TCP/IPv4)". Switch from Obtain an IP address automatically to Use the following IP address.
Change the IP address to one that is in the subnet that your server is connected to. For instance, my server is a part of the 192.168.10.0/24 subnet. My server IP address is set to 192.168.10.3 for simplicity.
Change your Subnet mask to the subnet mask of your subnet. E.g. 255.255.255.0 for me.
Change your Default gateway to your router's IP that is on the same subnet. Mine is 192.168.10.2 in this instance.
Change your DNS server to any DNS server you wish, e.g. 1.1.1.1 for Cloudflare DNS.
Add Active Directory and DNS role
Now we will add the Active Directory Domain Services and DNS roles to the server.
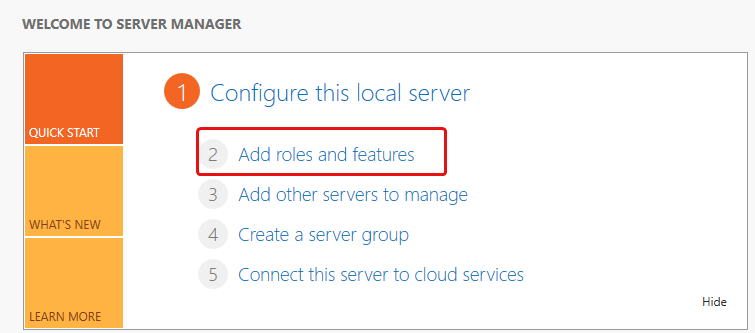
Press the Windows key and type "Server Manager" and run it.
Click on Add roles and features
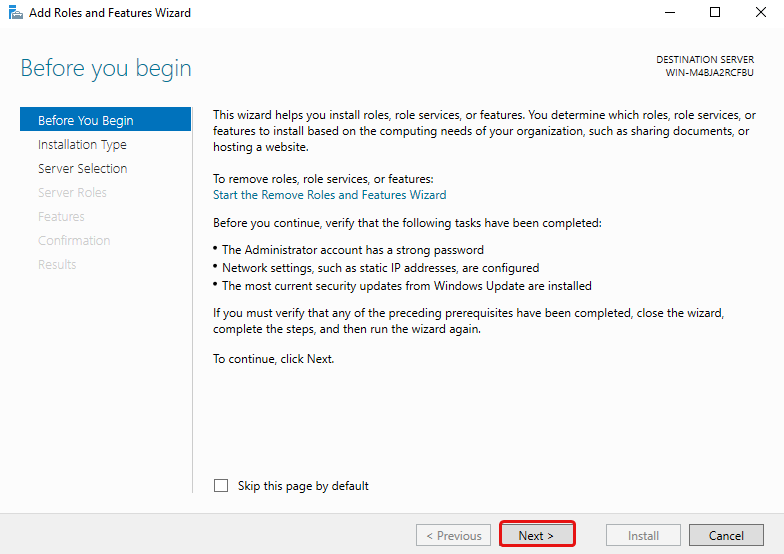
Click Next
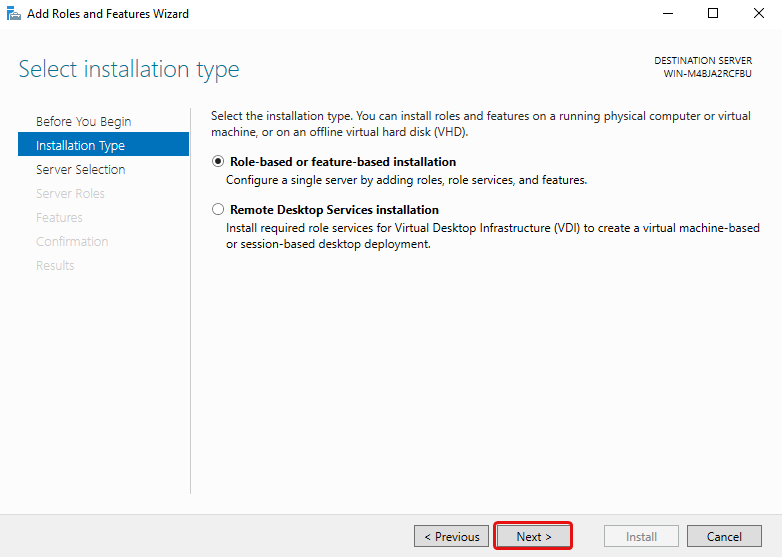
Select "Role-based or feature-based installation".
Select your server then click Next.

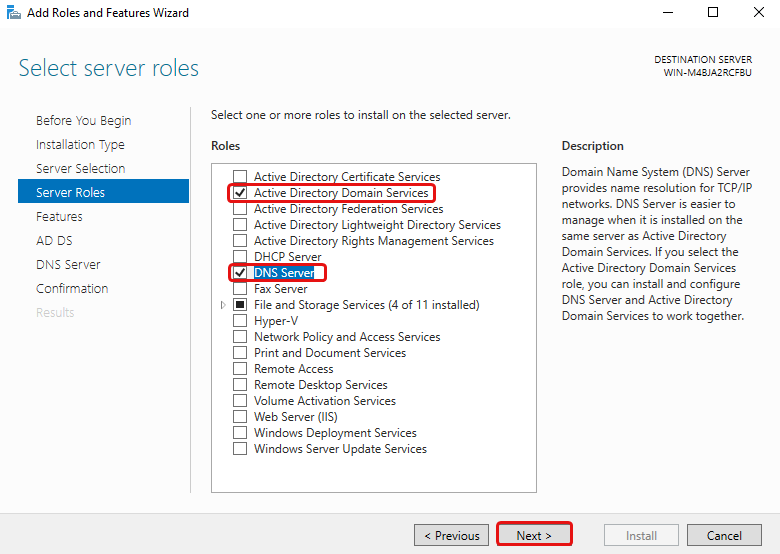
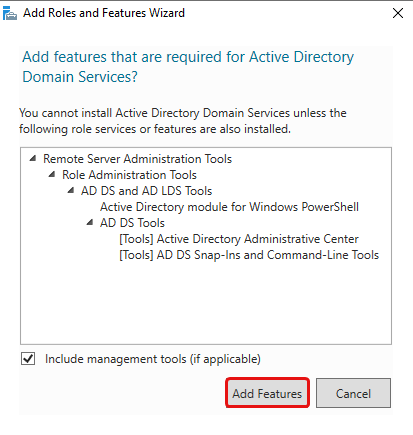
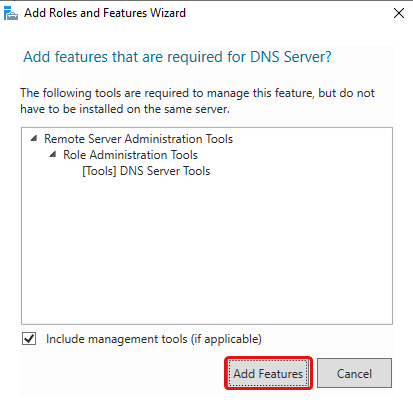
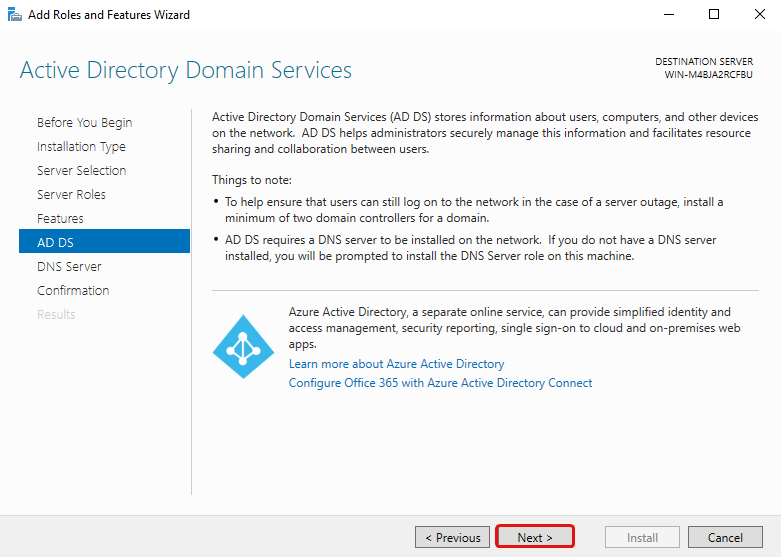
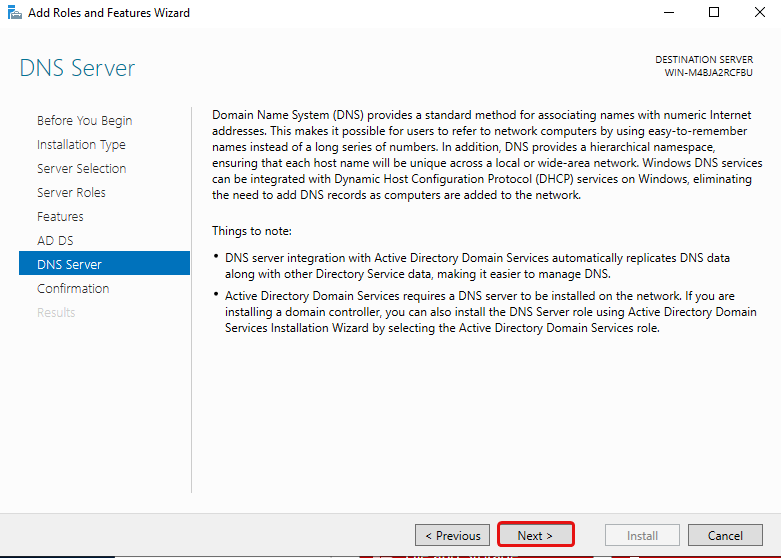
Tick Active Directory Domain Services and DNS Server roles, follow the prompts for each role, then click Next.
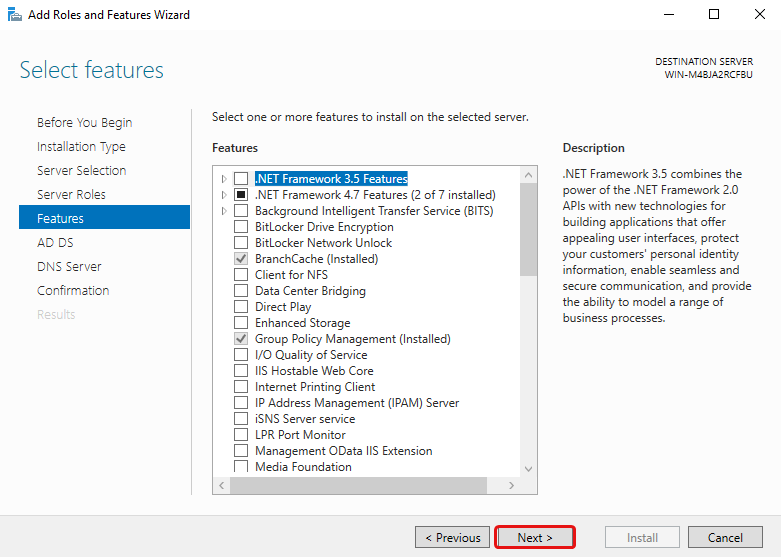
Click Next
Click Next.
Click Next.
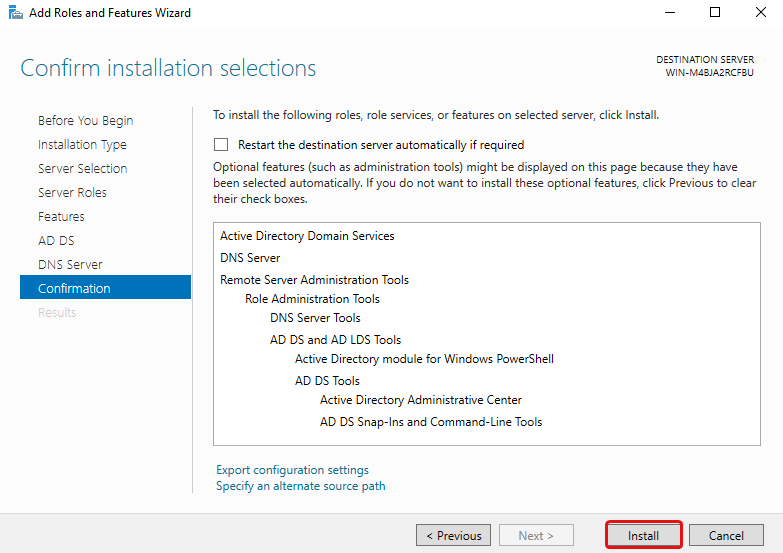
Click Install, then Close.
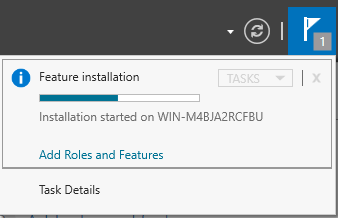
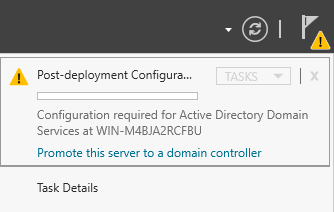
You can check the status of the role installation by clicking the flag icon.
Post-deployment Configuration
You should see a yellow triangle next to the flag icon, click it and then click Promote this server to a domain controller. You may need to click the refresh button for this to show up.
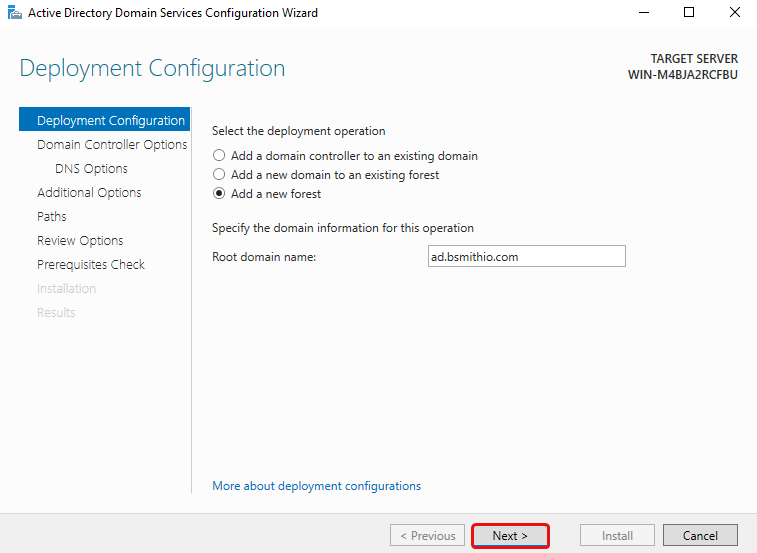
Select Add a new forest and specify your domain name for Active Directory, then click Next. A few popular choices for your Root domain name are: ad.example.com, corp.example.com and local.example.com. Replace example.com with your domain name.
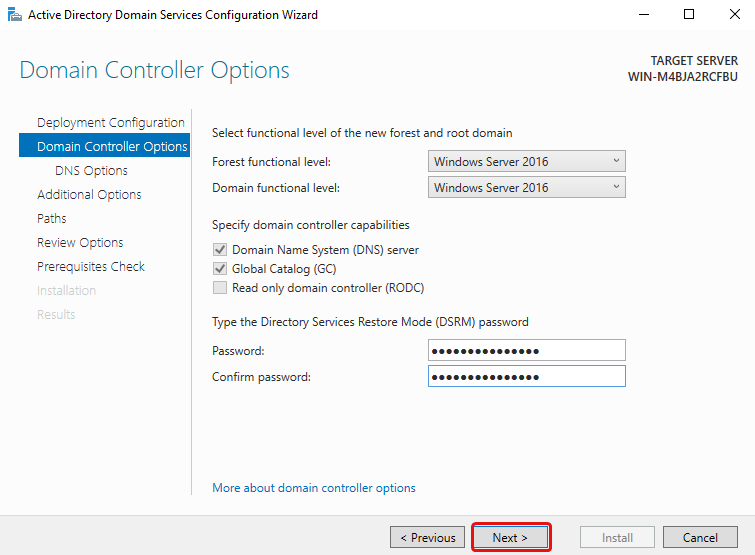
Enter a password for DSRM, DSRM will allow an administrator repair or restore an Active Directory database, then click Next.
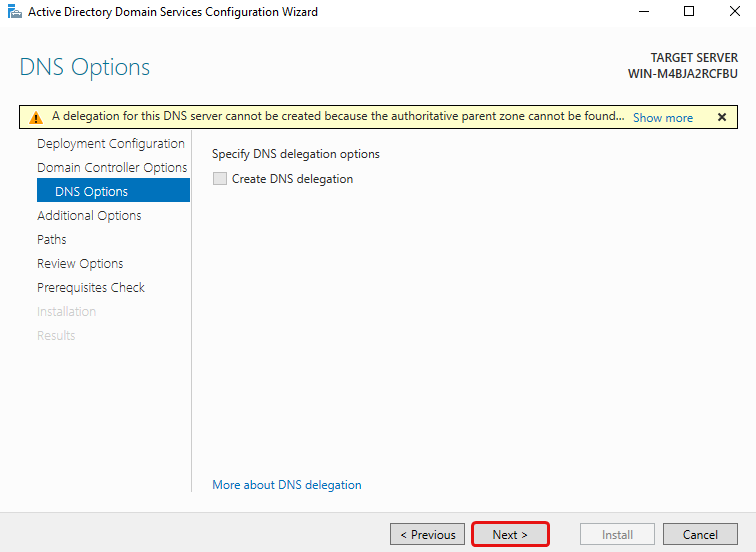
Click Next.
Click Next.
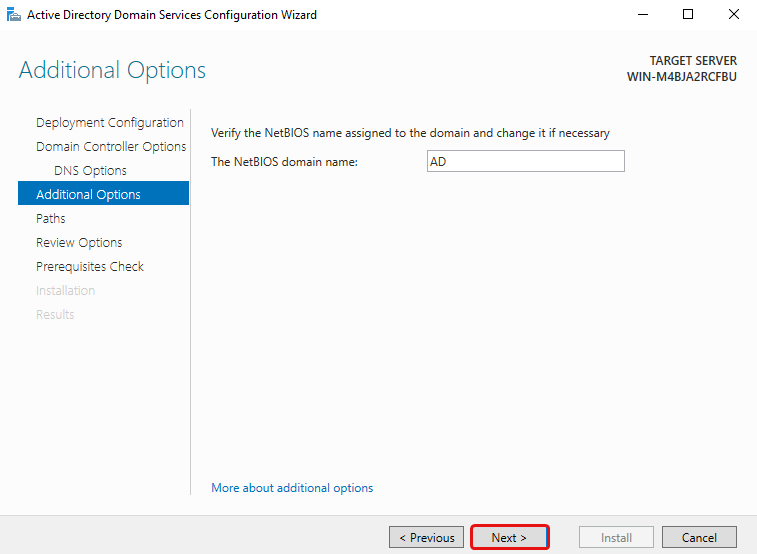
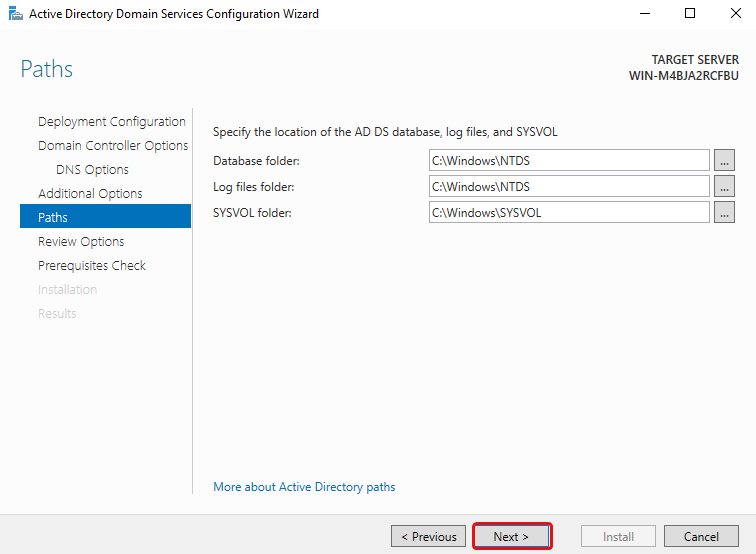
Click Next.
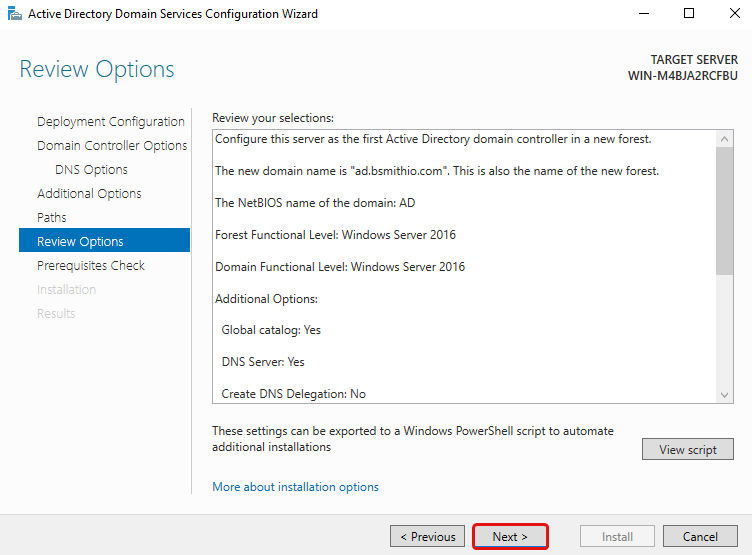
Review your selections, then click Next.
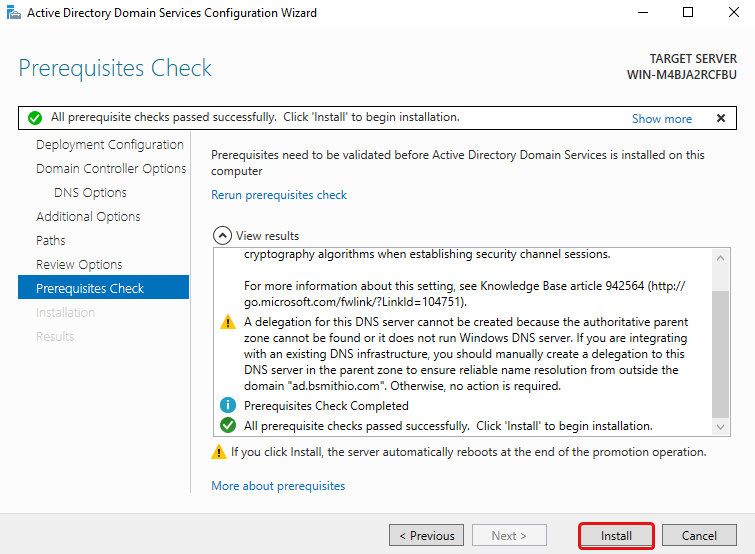
The wizard will then validate prerequisites.
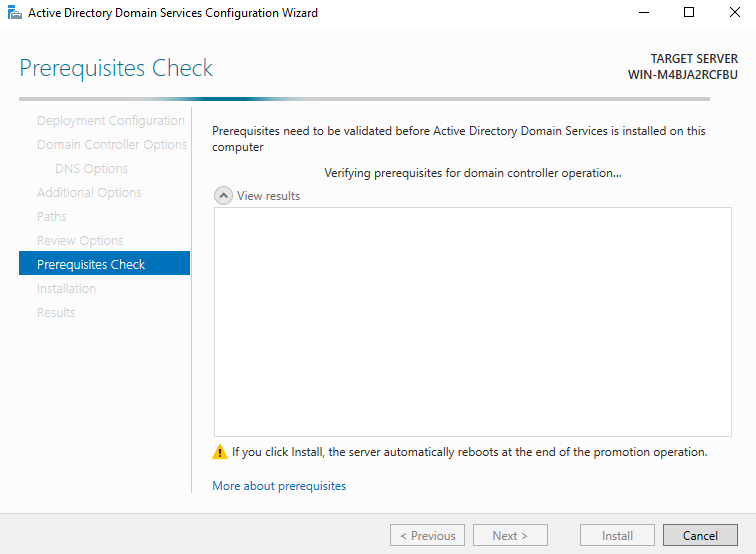
Once it is done click Install, then the server will restart.
Add Users and Groups
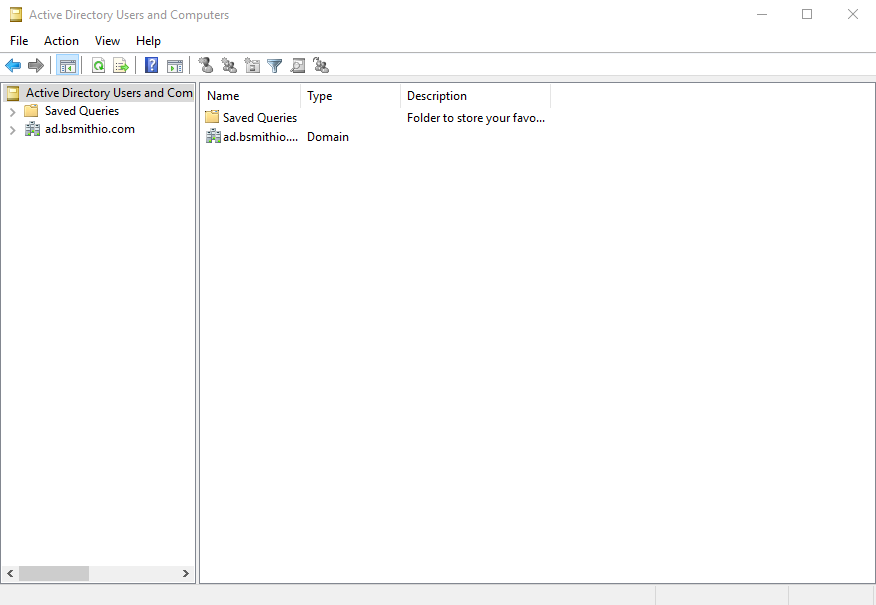
Once your server has restarted, it will be a part of your AD domain. Log in and run Server Manager again. We will now add new users and groups to our AD domain.
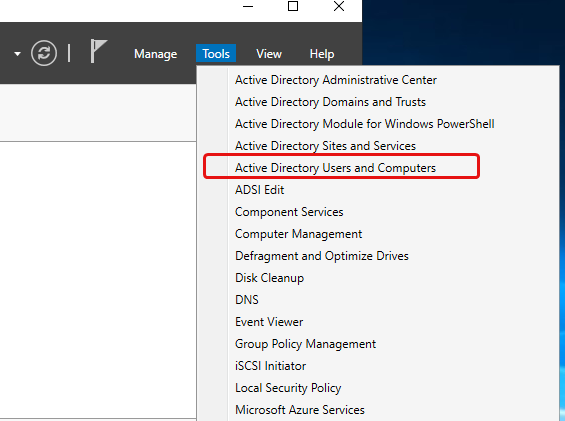
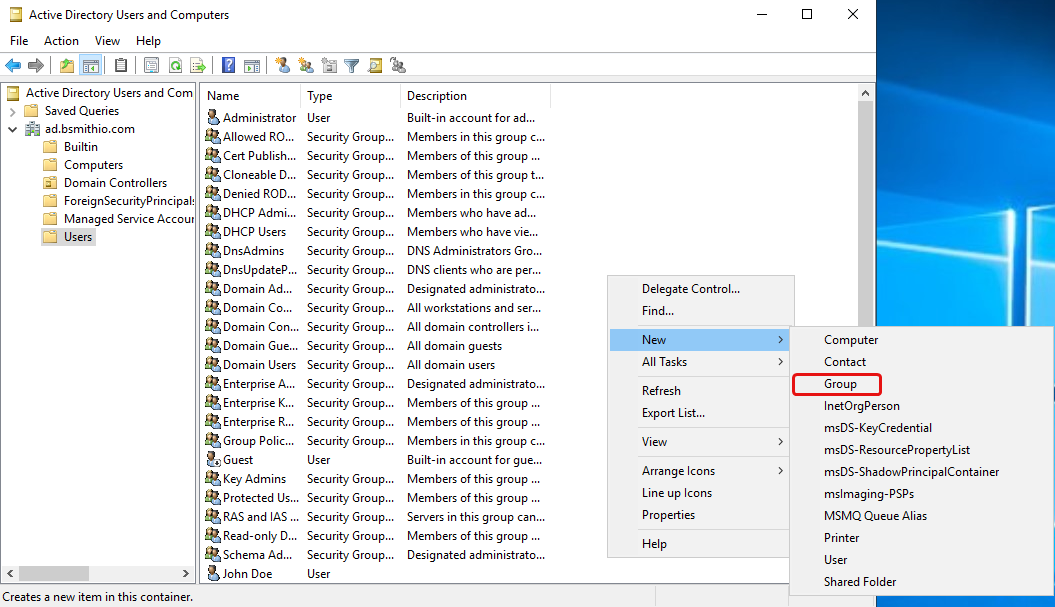
Navigate to Tools -> Active Directory Users and Computers.
Add Users
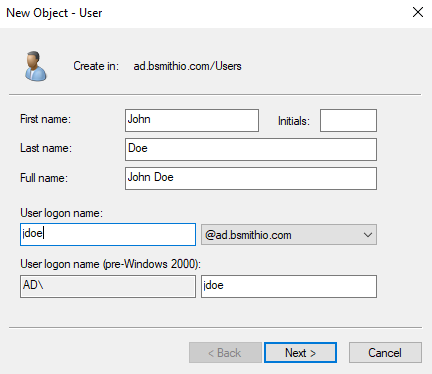
Click the dropdown arrow next to your domain name, then click on users, and right click and select New -> User.

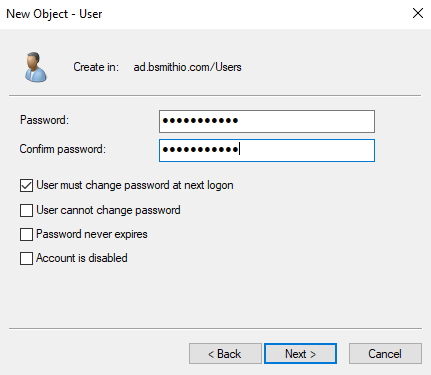
Fill in the details like so and click Next.
Enter a password, it must contain an upper-case, lower-case, and special character, then make sure User must change password at next login is ticked, this is best practice, then click Next and then Finish.
Add groups
Click the dropdown arrow next to your domain name, then click on users, and right click and select New -> Group.
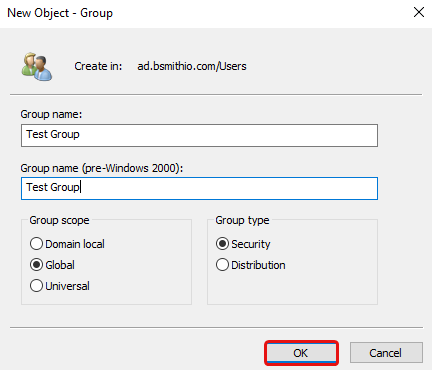
Fill in the details like so then click OK.
Windows 10 Client
Join Active Directory Domain
We will use a Windows 10 client to join our AD domain.
Set DNS Server
The first thing we need to do is change our DNS server to the IP address of our domain controller on our client. Preferably you'd want to set this as DHCP option on your DHCP server. For this demonstration we'll just change it manually.
Open a Command Prompt and run:
1control.exe /name Microsoft.NetworkAndSharingCenter
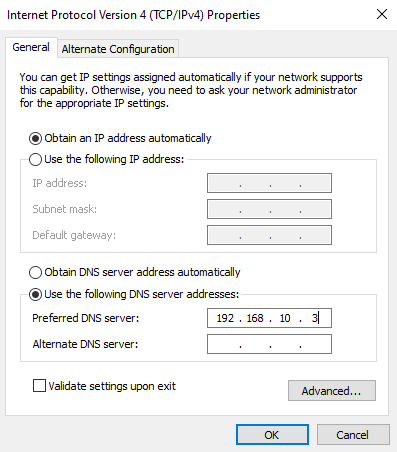
Network and Sharing Center should open. Now navigate to Change adapter settings, then right click on your network adapter and click Properties. Double click on "Internet Protocol Version 4 (TCP/IPv4)". Switch "Obtain DNS server address automatically" to "Use the following DNS server addresses".
Change your DNS server the to domain controller's IP address, e.g. 192.168.10.3
Create An Account to Join the Domain
Follow the Add Users section again with a new user but this time untick "User must change password at next login". We will use this account to join computers to the domain.
Join Domain
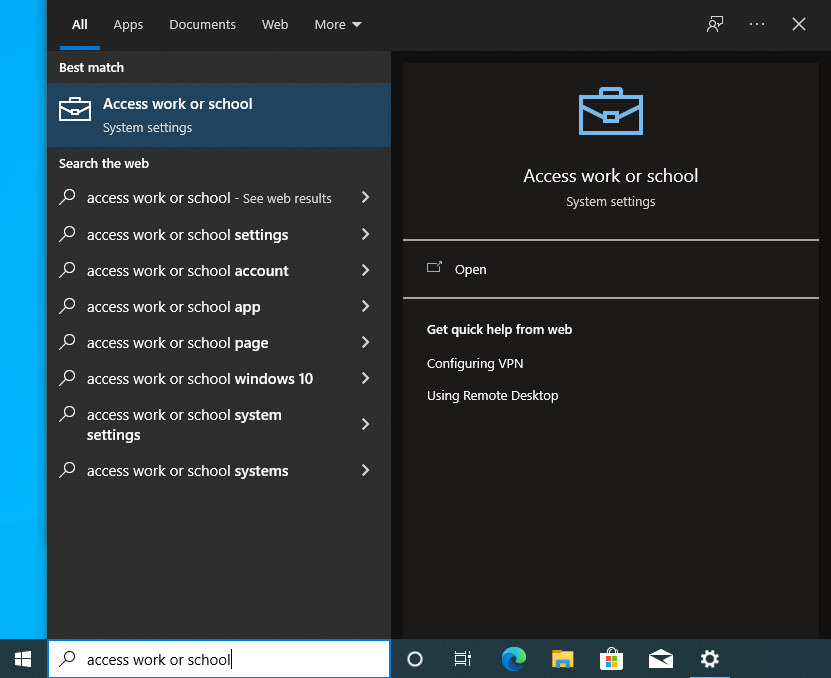
Press the Windows key then type "Access work or school" and hit enter.
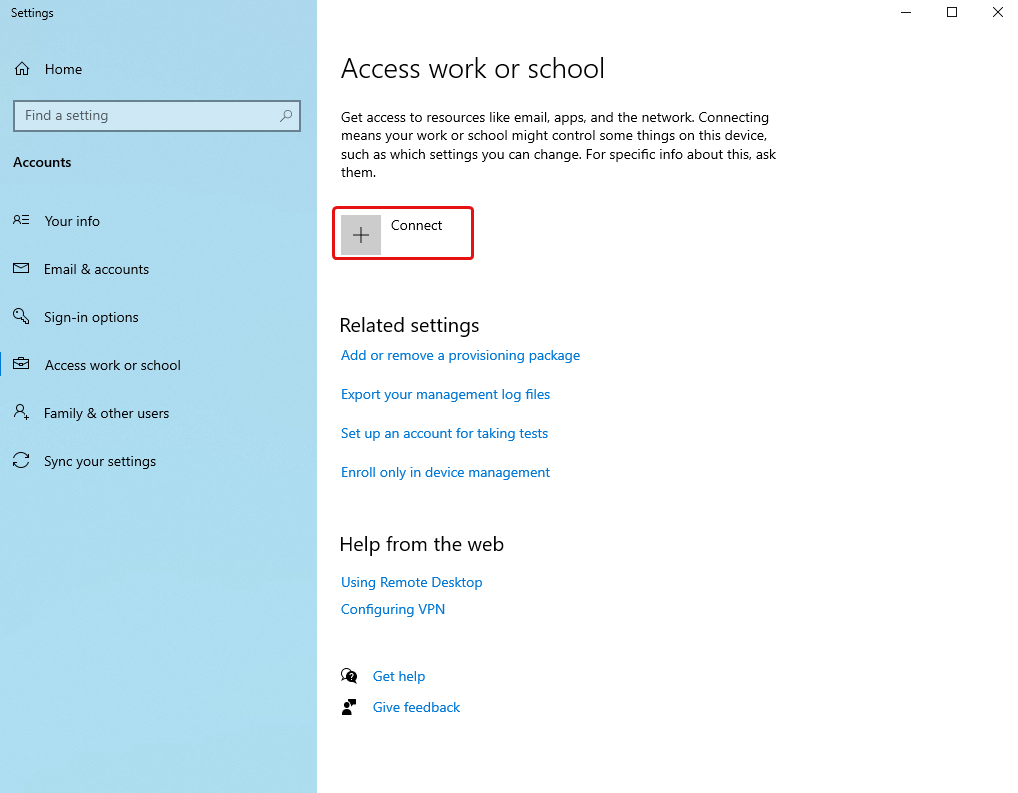
Click Connect.
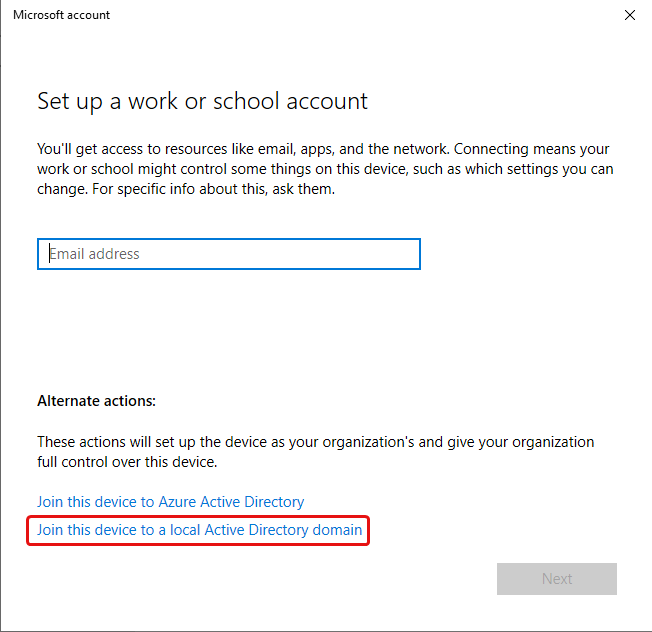
Click Join this device to a local Active Directory domain.
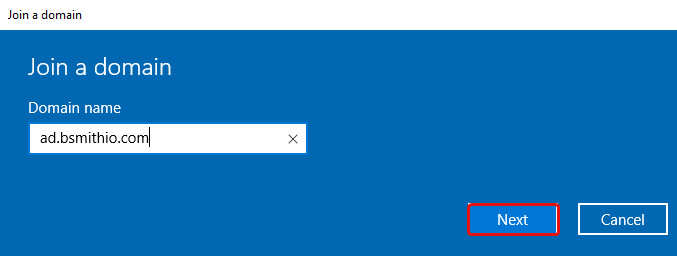
Type in your Active Directory domain name, then click Next.
Enter your user credentials that you created above, then click OK.

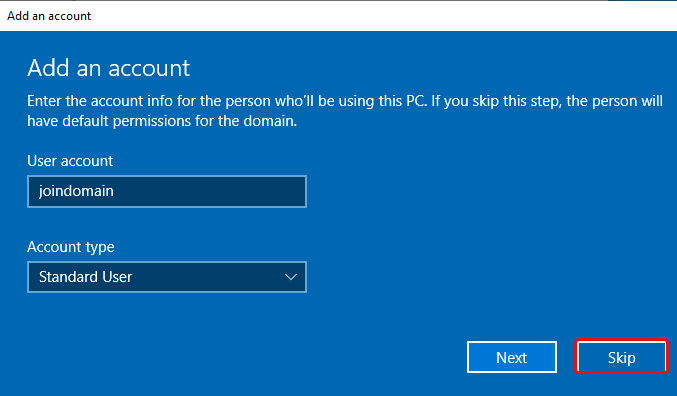
Click Skip, then Restart Now.
Once your computer has restarted, click on Other user, then login with one of your AD user accounts.
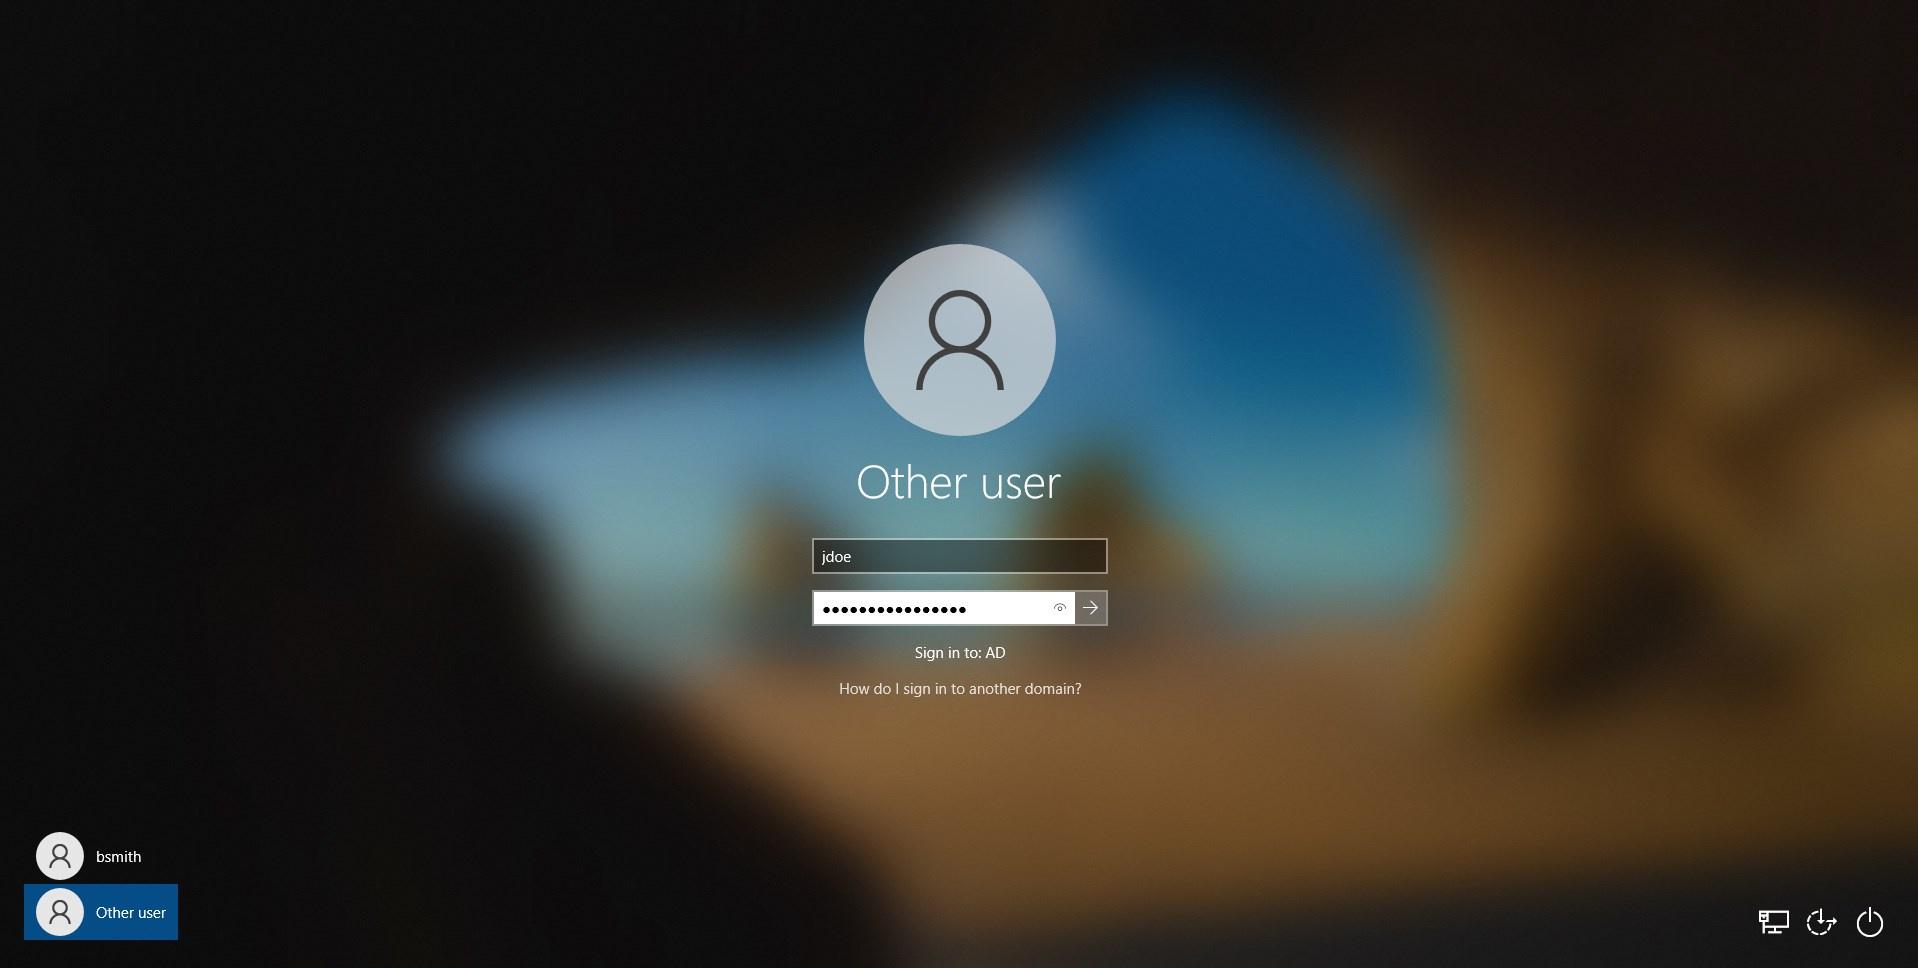
Since we had "User must change password at next login" ticked, we'll get a prompt to change the password, click OK and fill in a new password.

Conclusion
You've successfully created an AD domain and joined a Windows 10 computer to the AD domain!