How to Configure DHCP for Multiple VLANs with OPNsense and Windows Server 2019
Overview
This guide assumes the following:
- You have an OPNsense firewall.
- You have already configured your VLANs on OPNsense.
- You have a Windows Server 2019 server.
Windows Server 2019
Set Static IP
You will need to set a static IP address for the DHCP server to work. Follow the steps below to do so.
Open a Command Prompt and run:
1control.exe /name Microsoft.NetworkAndSharingCenter
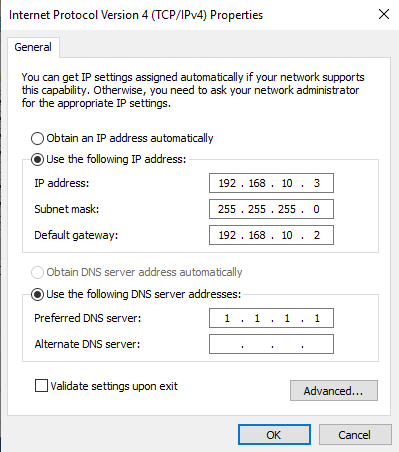
Network and Sharing Center should open. Now navigate to Change adapter settings, then right click on your network adapter and click Properties. Double click on "Internet Protocol Version 4 (TCP/IPv4)". Switch from Obtain an IP address automatically to Use the following IP address.
Change your IP address to one that is in the VLAN subnet that your server is connected to. For instance, my DHCP server is connected to my Services VLAN. The subnet is 192.168.10.0/24. My server IP address is set to 192.168.10.3 for simplicity.
Change your Subnet mask to the subnet mask of your VLAN subnet. E.g. 255.255.255.0 for me.
Change your Default gateway to your OPNsense router's IP that is on the same VLAN. Mine is 192.168.10.2 in this instance.
Change your DNS server to any DNS server you wish, e.g. 1.1.1.1 for Cloudflare DNS. If your server is a DNS server, enter the same IP from above e.g. 192.168.10.3.
Add DHCP Role
Now we will add the DHCP role to the server. Open a command prompt and run
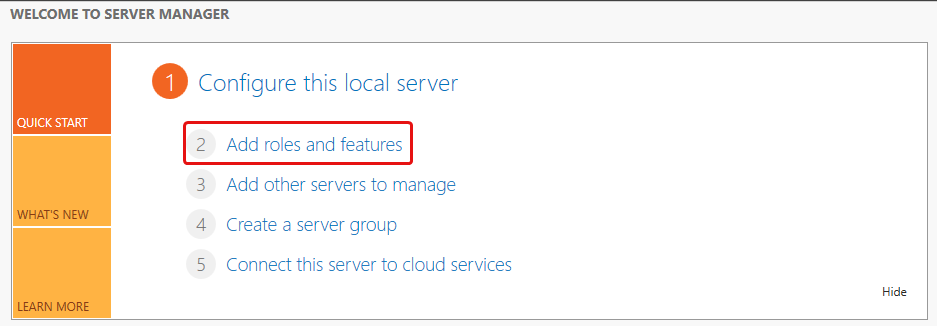
1ServerManager.exe
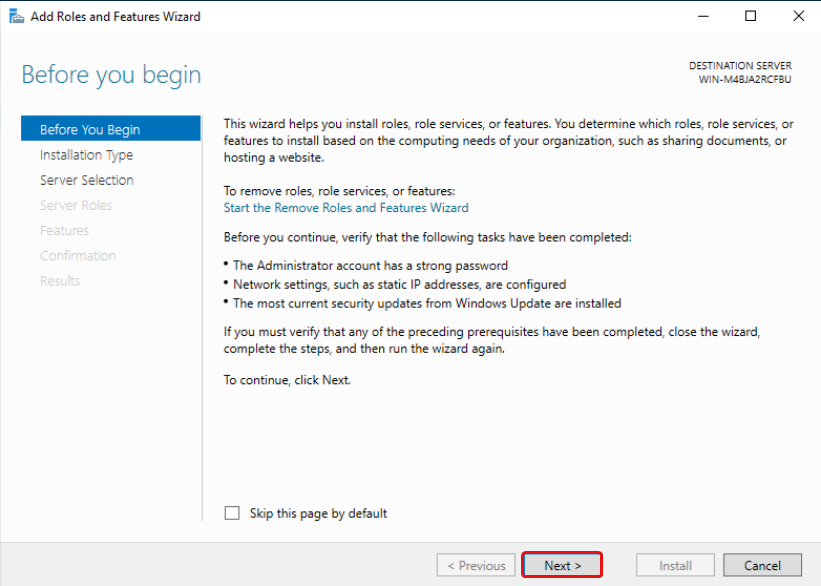
Add Roles and Features Wizard
Click "Add roles and features"
Click Next.
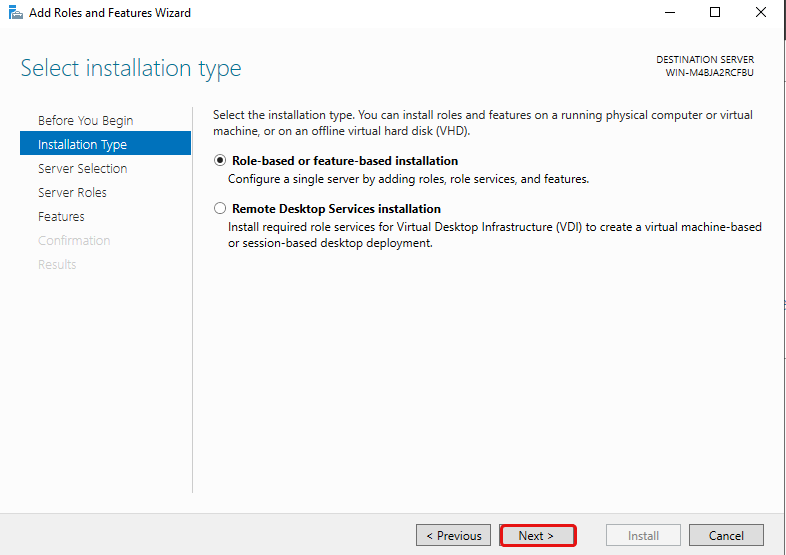
Select "Role-based or feature-base installation" and click Next.
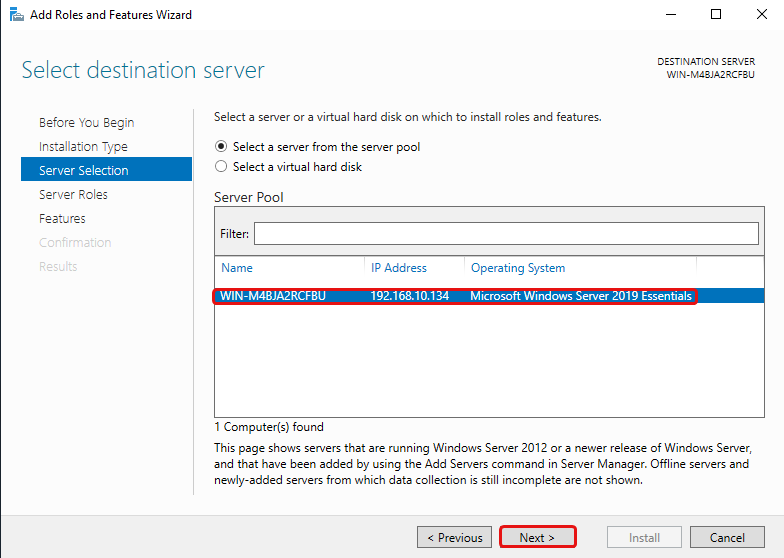
Select your server and click Next.
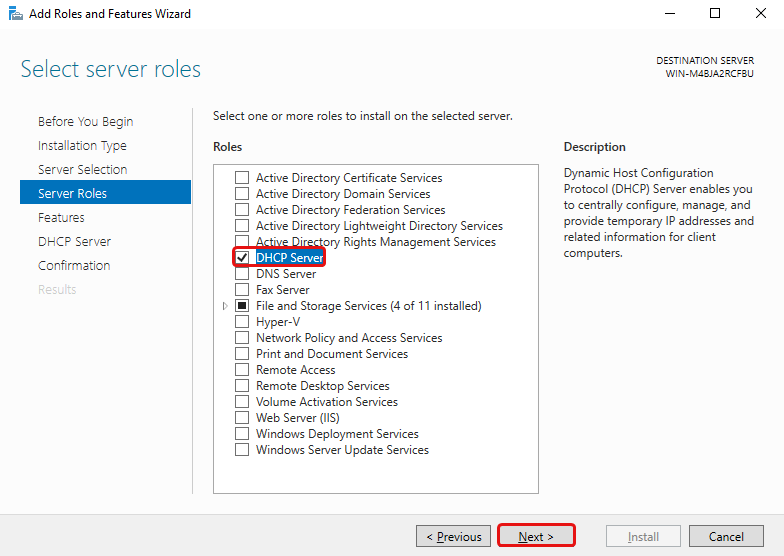
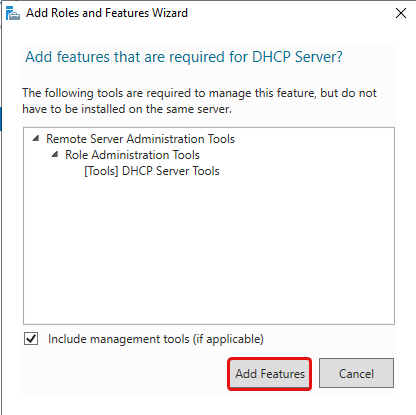
Tick the DHCP Server Role then click Add Features, then click Next until you can click Install. You may then click Close.
To check the status of the installation you can click the flag icon on Server Manager.
Post-deployment DHCP Configuration
After you've installed the DHCP Server role, you should see a yellow triangle next to the flag icon.
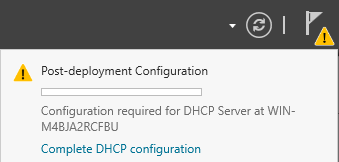
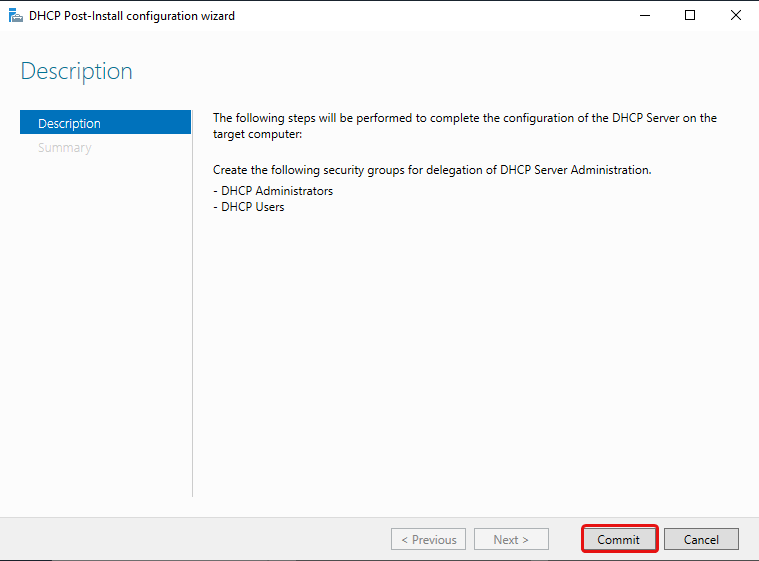
Click on the flag and then click Complete DHCP configuration. This will add the DHCP Administrators and DHCP Users security groups.
Click Commit.
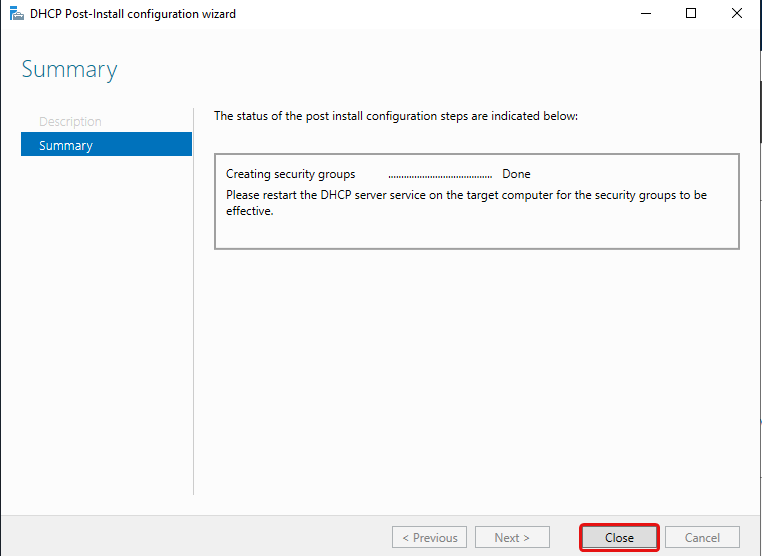
Click Close.
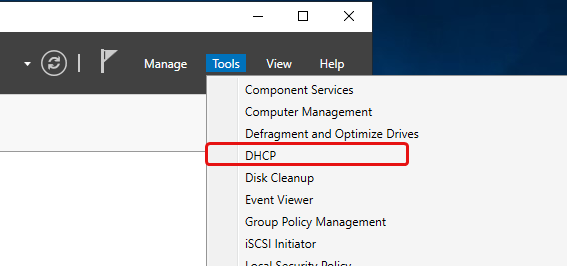
Configure DHCP Server
After everything has been installed, navigate to Tools > DHCP.
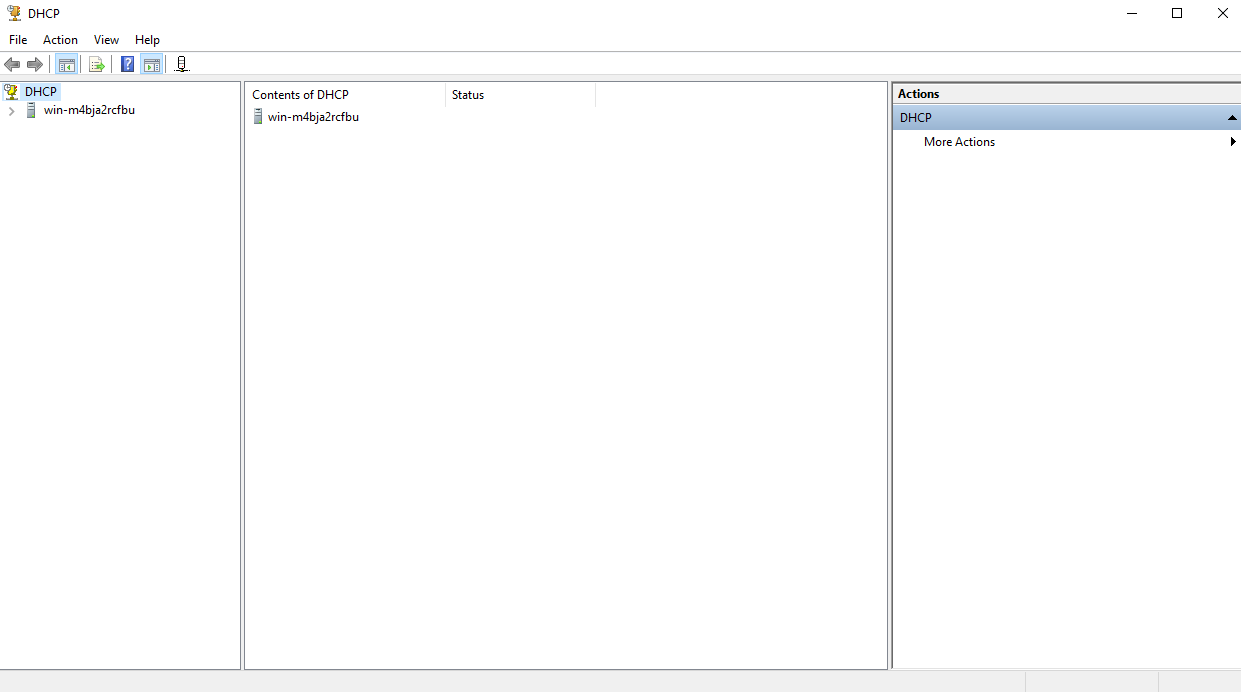
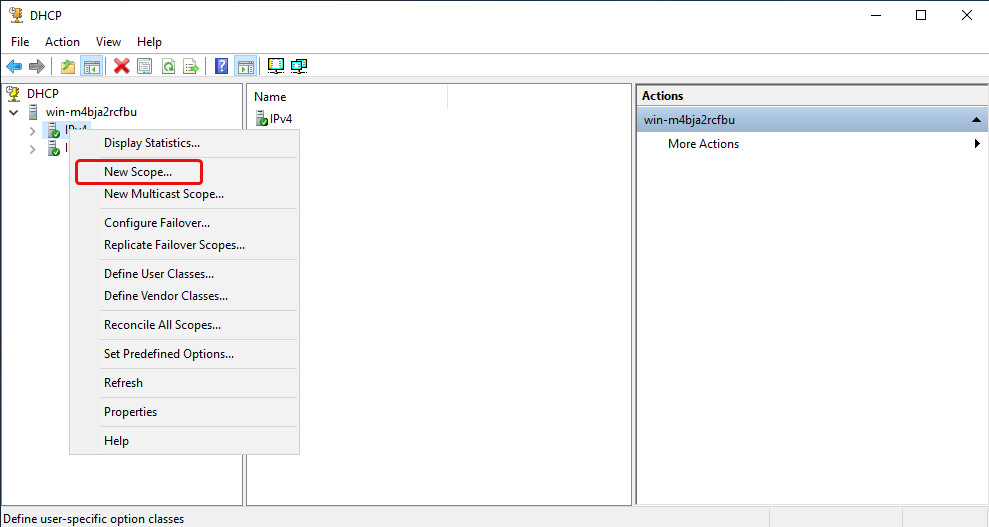
Add Scopes
Click on the dropdown arrow then right click IPv4 and click "New Scope"
Click Next.
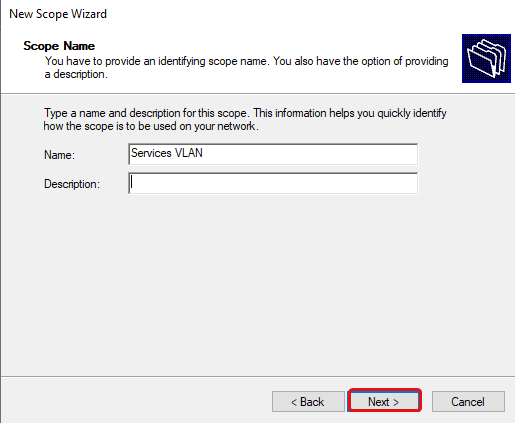
Add a name and description. The name is required, while the description is not.
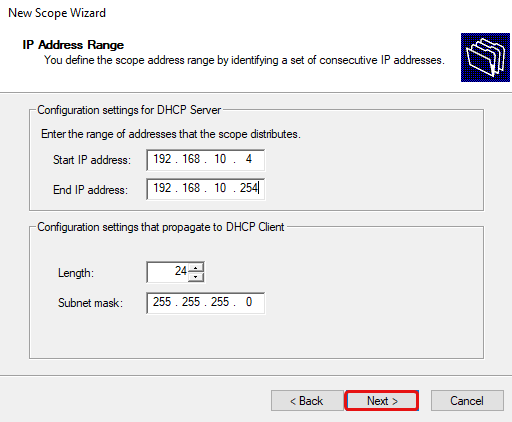
Define the IP address range that this scope will distribute. In my case, the IP address range would be 192.168.10.4-192.168.10.254.
The subnet mask defaults to 255.255.255.0 CIDR /24. Change this as necessary, for me I'll leave this as is since it's the same subnet mask as my Services VLAN. Then click Next.
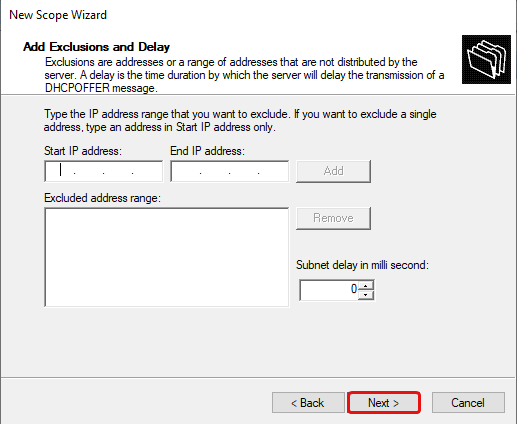
You may add an exclusion range for IP addresses that you do not want the DHCP server to distribute. This is optional, click Next.
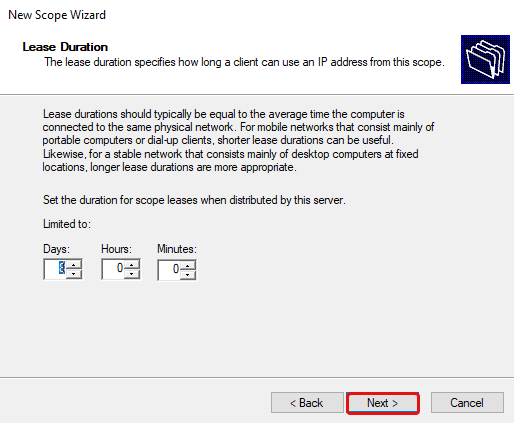
Set the lease duration here, this sets how long the IP address will be leased to each DHCP client. Either change it to another value, or leave it as is, then click Next.
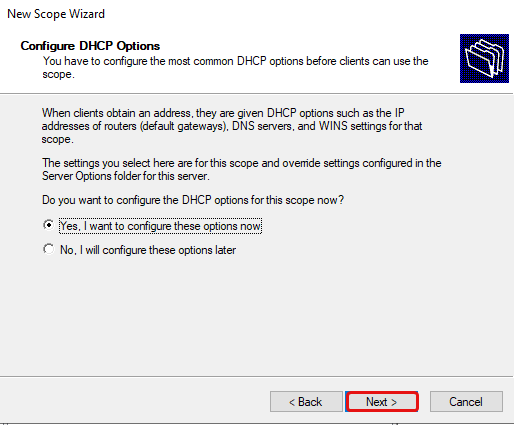
Select "Yes, I want to configure these options now" then click Next.
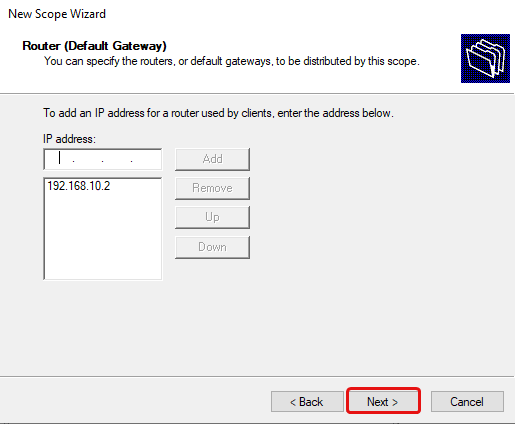
Type in the Default Gateway (Router) IP address for the VLAN and click Add, then click Next.
Type in a DNS server IP address e.g. 1.1.1.1 for Cloudflare DNS, click Add, then click Next.
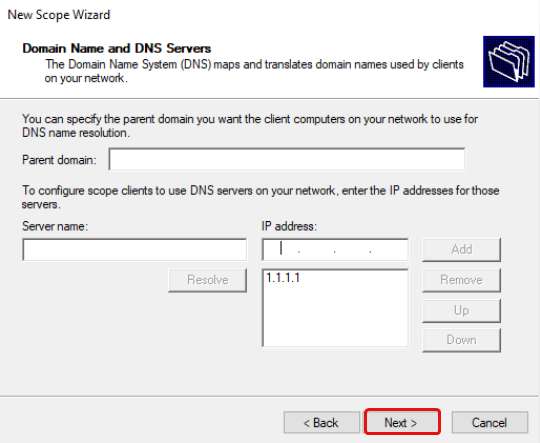
Click Next.

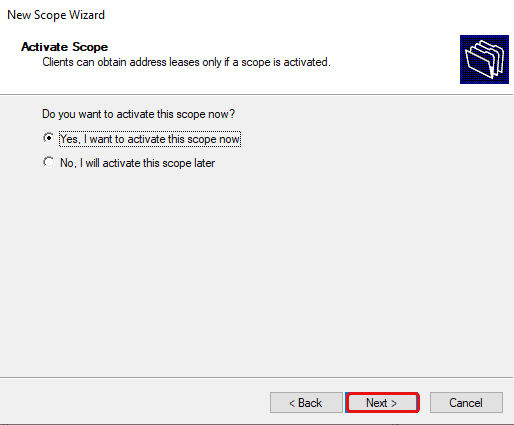
Select "Yes, I want to activate this scope now", then click Next, and then click Finish.
Additional DHCP Options
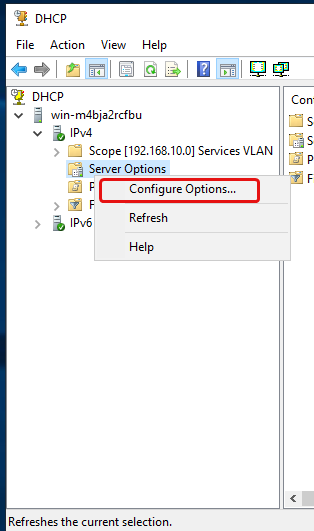
To configure additional DHCP options click the dropdown arrow next to IPv4, then the dropdown for your scope, and then right click on Scope Options, and click Configure Options.
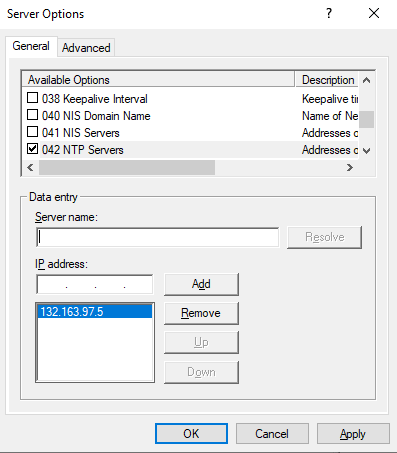
You can configure various DHCP options here, such as an NTP server for time synchronization.
Repeat For Each VLAN
After you've configured your first VLAN scope, repeat the steps above for each VLAN subnet you have on your network.
OPNsense
Now that we have our DHCP server configured, we need to configure a DHCP relay on our OPNsense router. It basically forwards our DHCP request from our DHCP client to our DHCP server.
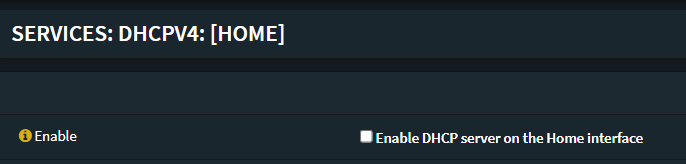
If you currently are using the DHCP server on OPNsense, you must disable it, navigate to the DHCP server for each VLAN interface, then untick "Enable DHCP server on x interface" then click Save at the bottom.
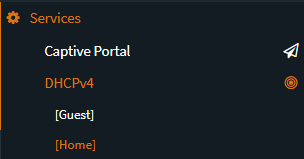
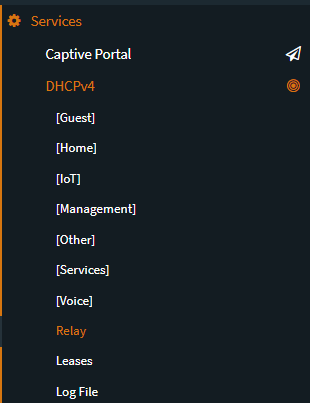
Now navigate to Services -> DHCPv4 -> Relay.
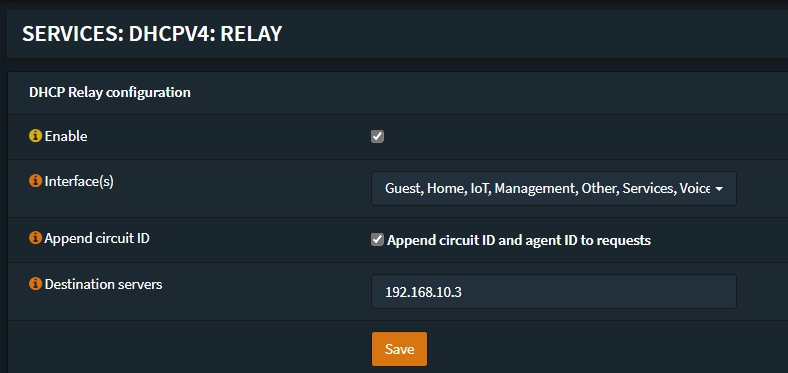
Tick Enable, select your VLAN interfaces, tick Append circuit ID, then enter your DHCP server IP address. Then click Save. This will then relay every DHCP request from clients on your VLANs to your DHCP server.
Conclusion
I hope this guide helped you! Now all of your DHCP clients will receive IP addresses from your DHCP server. Please contact me if you think I made any errors or if you have any suggestions to improve this guide.